HOW TO USE THE SURVIVAL JERRYCAN

Read these instructions carefully. If you do not understand these instructions or have any questions, please contact us on Service@SureAqua.com

There are instructional video’s below on how to use and maintain Survival Jerrycan

Download your copy of the Survival Jerrycan User Manual

Before operating or installing the Survival Jerrycan Unit, read the following safety instructions.  Failure to comply with these warnings may result in serious injury.

This Survival Jerrycan is designed and manufactured solely for the purpose of filtering water. Under no circumstances may it be used for any other purposes.
Before using the Survival Jerrycan Unit, all operators and users must have read and understood the contents of this manual and any other manual supplied with the Survival Jerrycan Unit. Never allow inadequately trained personnel to operate the device.

Never stand with face or body over the top of the tank when loosening the Pump.

Important: When every you stopusing the Survival Jerrycan relieve the air pressure from the tank by screwing the pump.

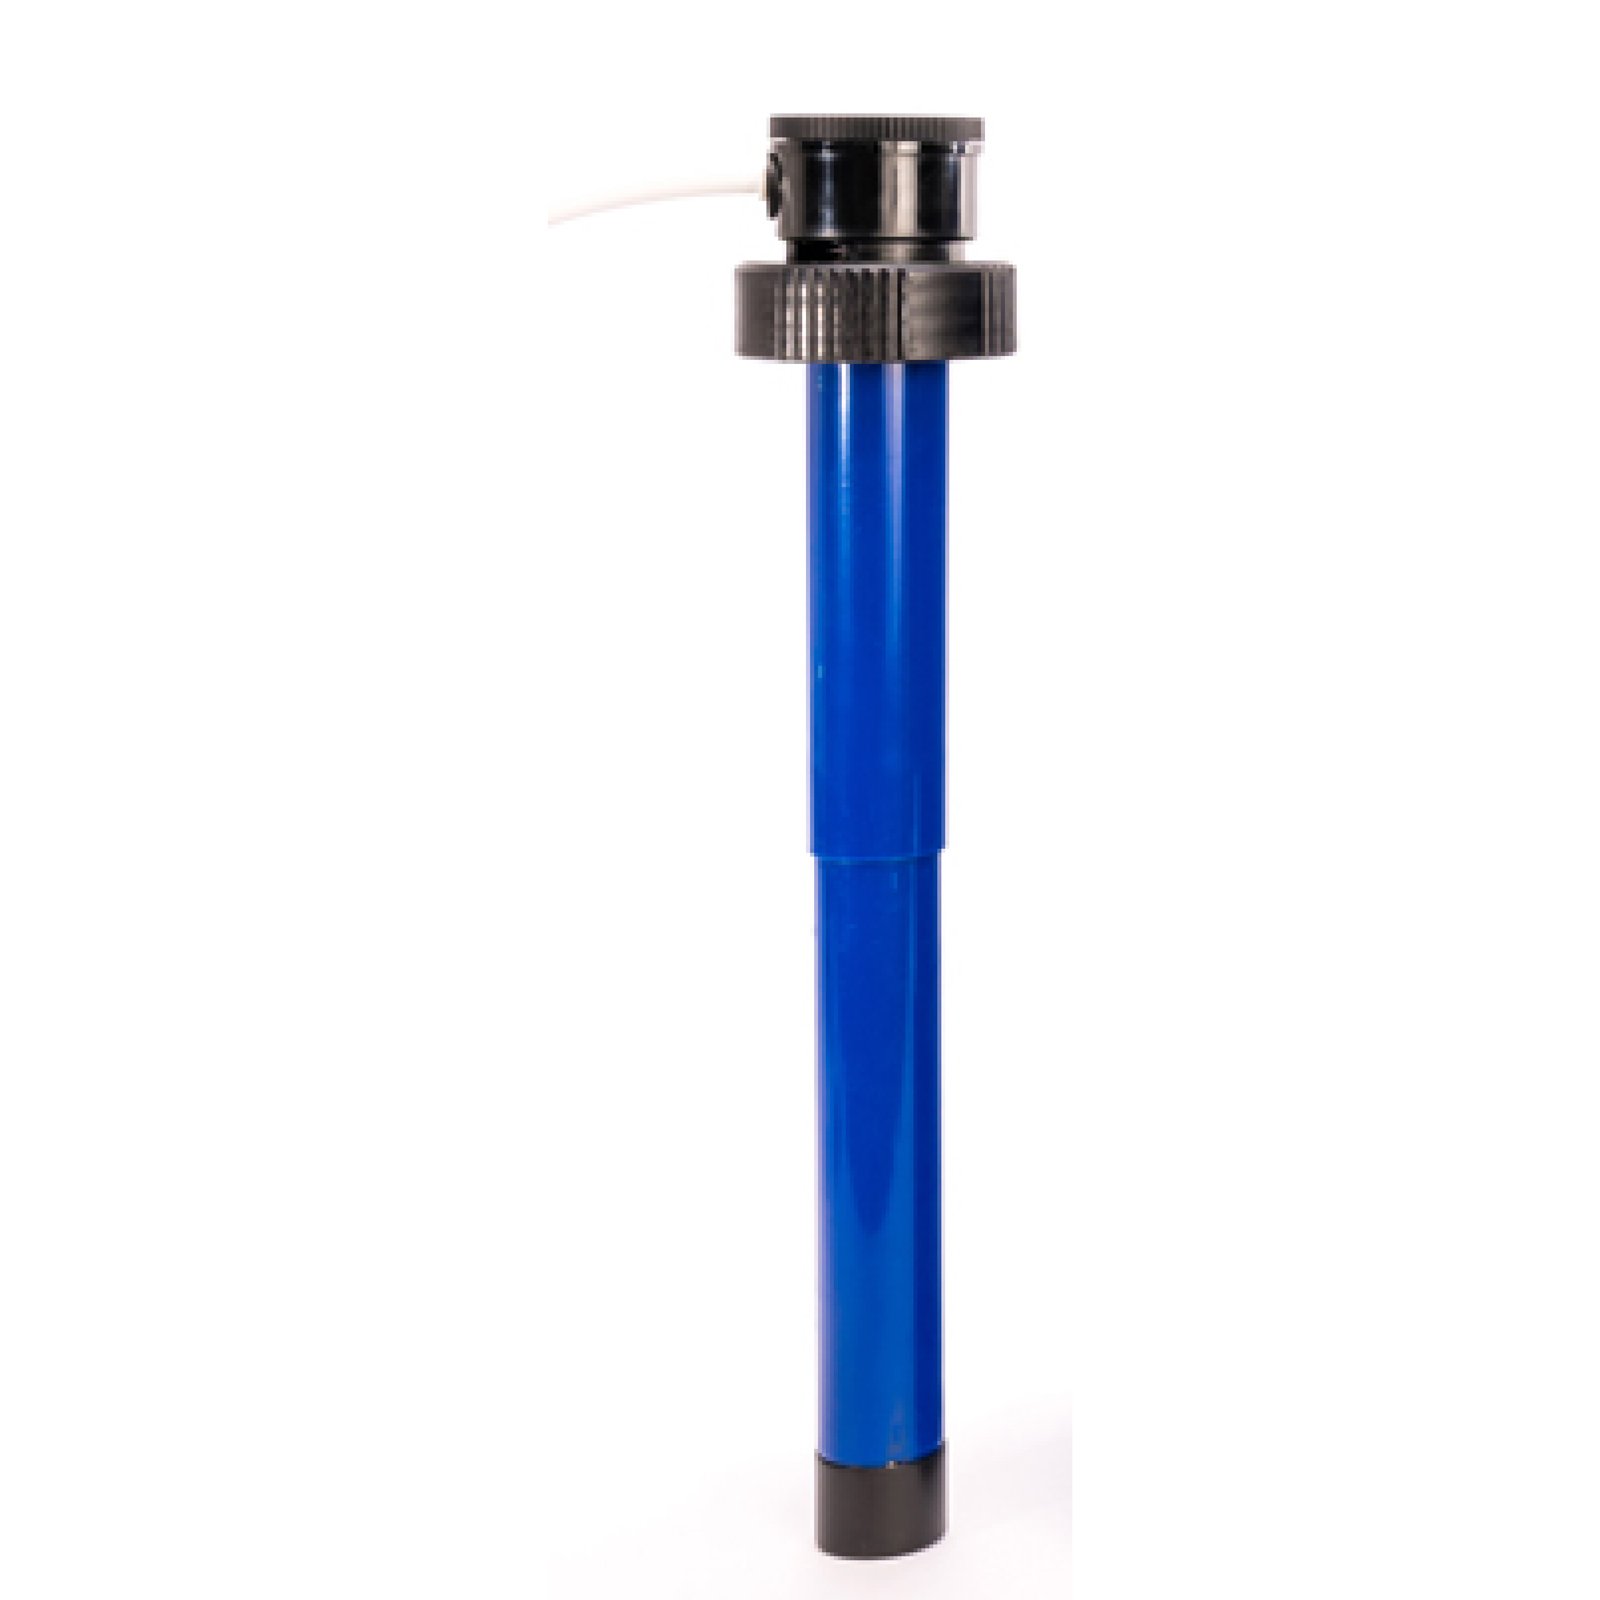
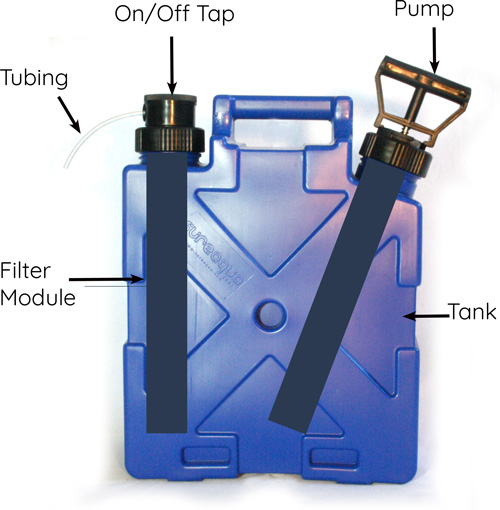
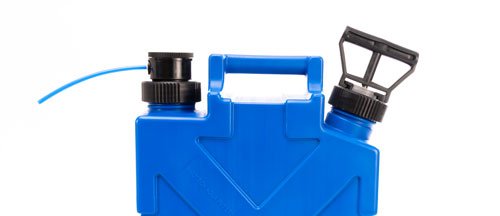
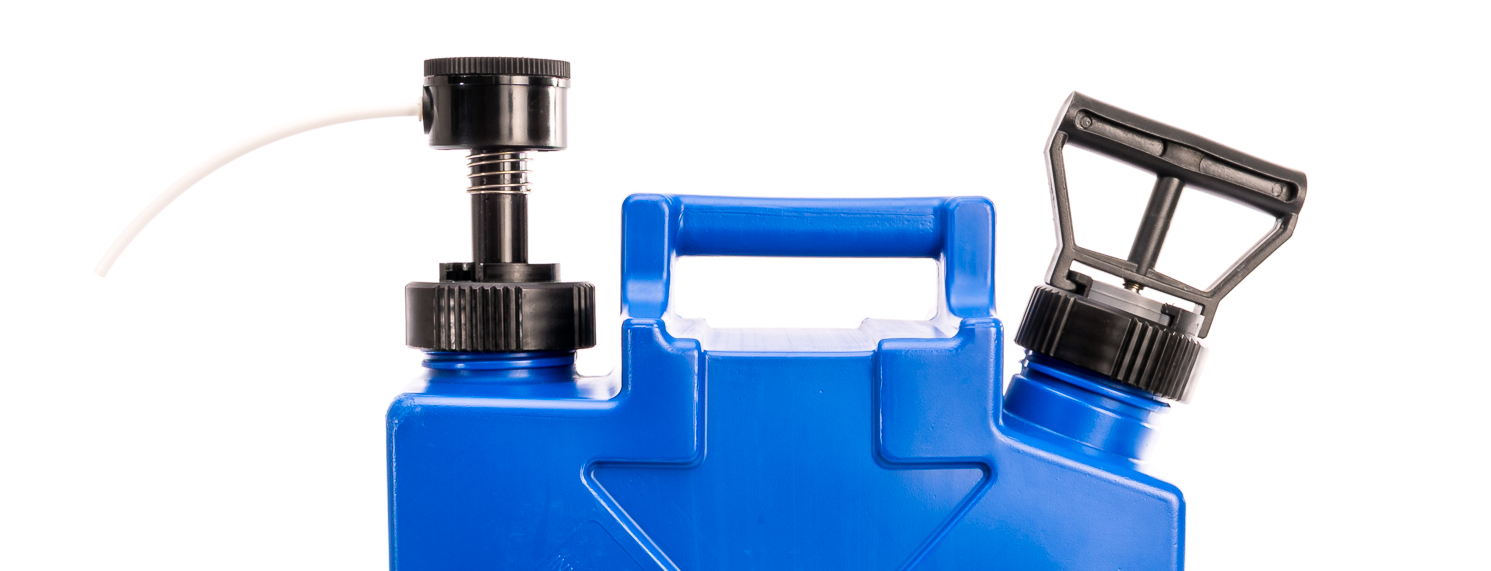
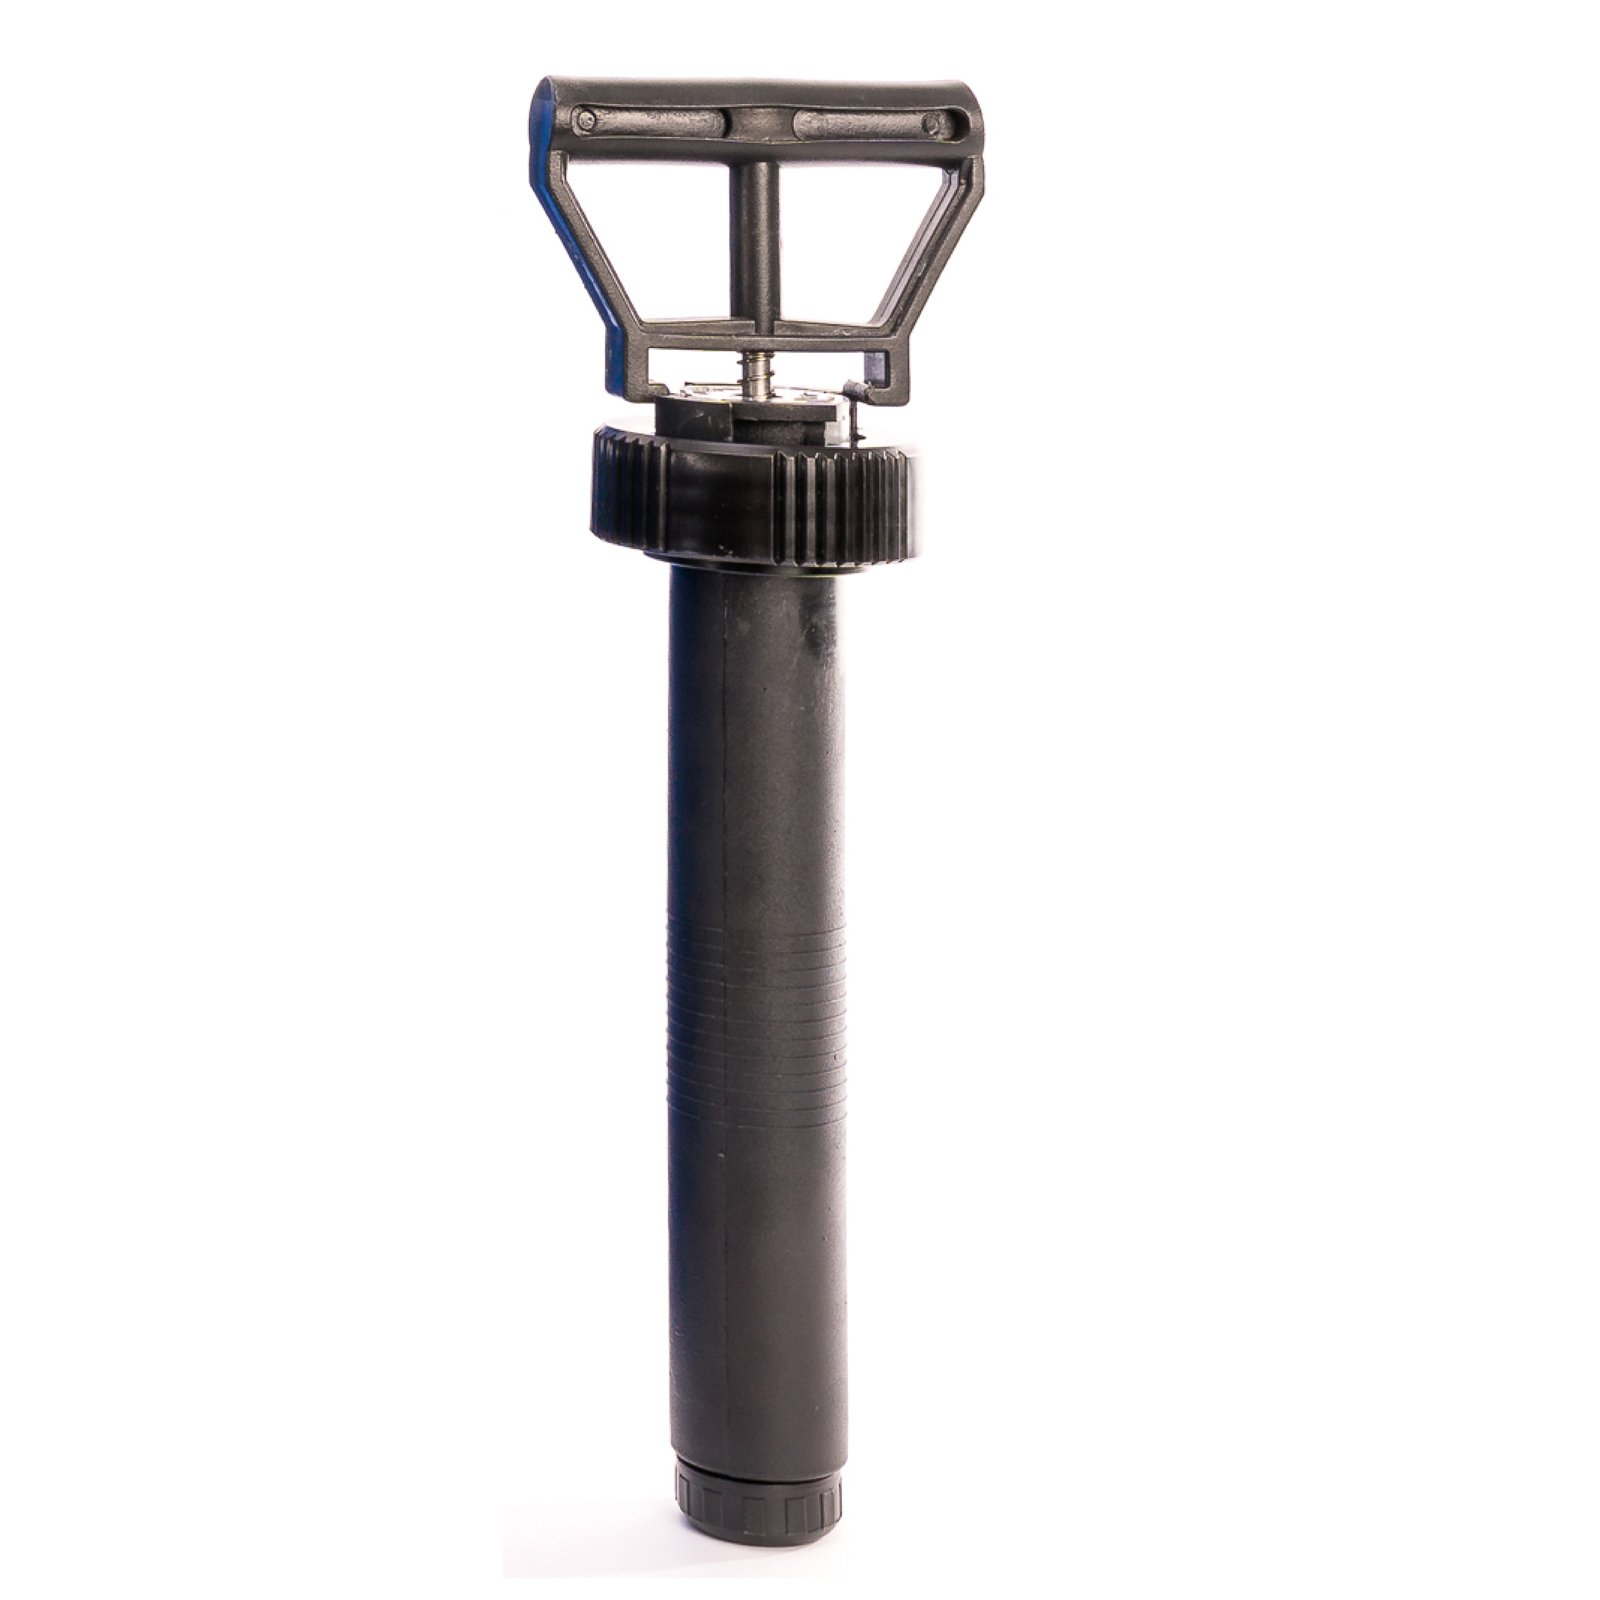
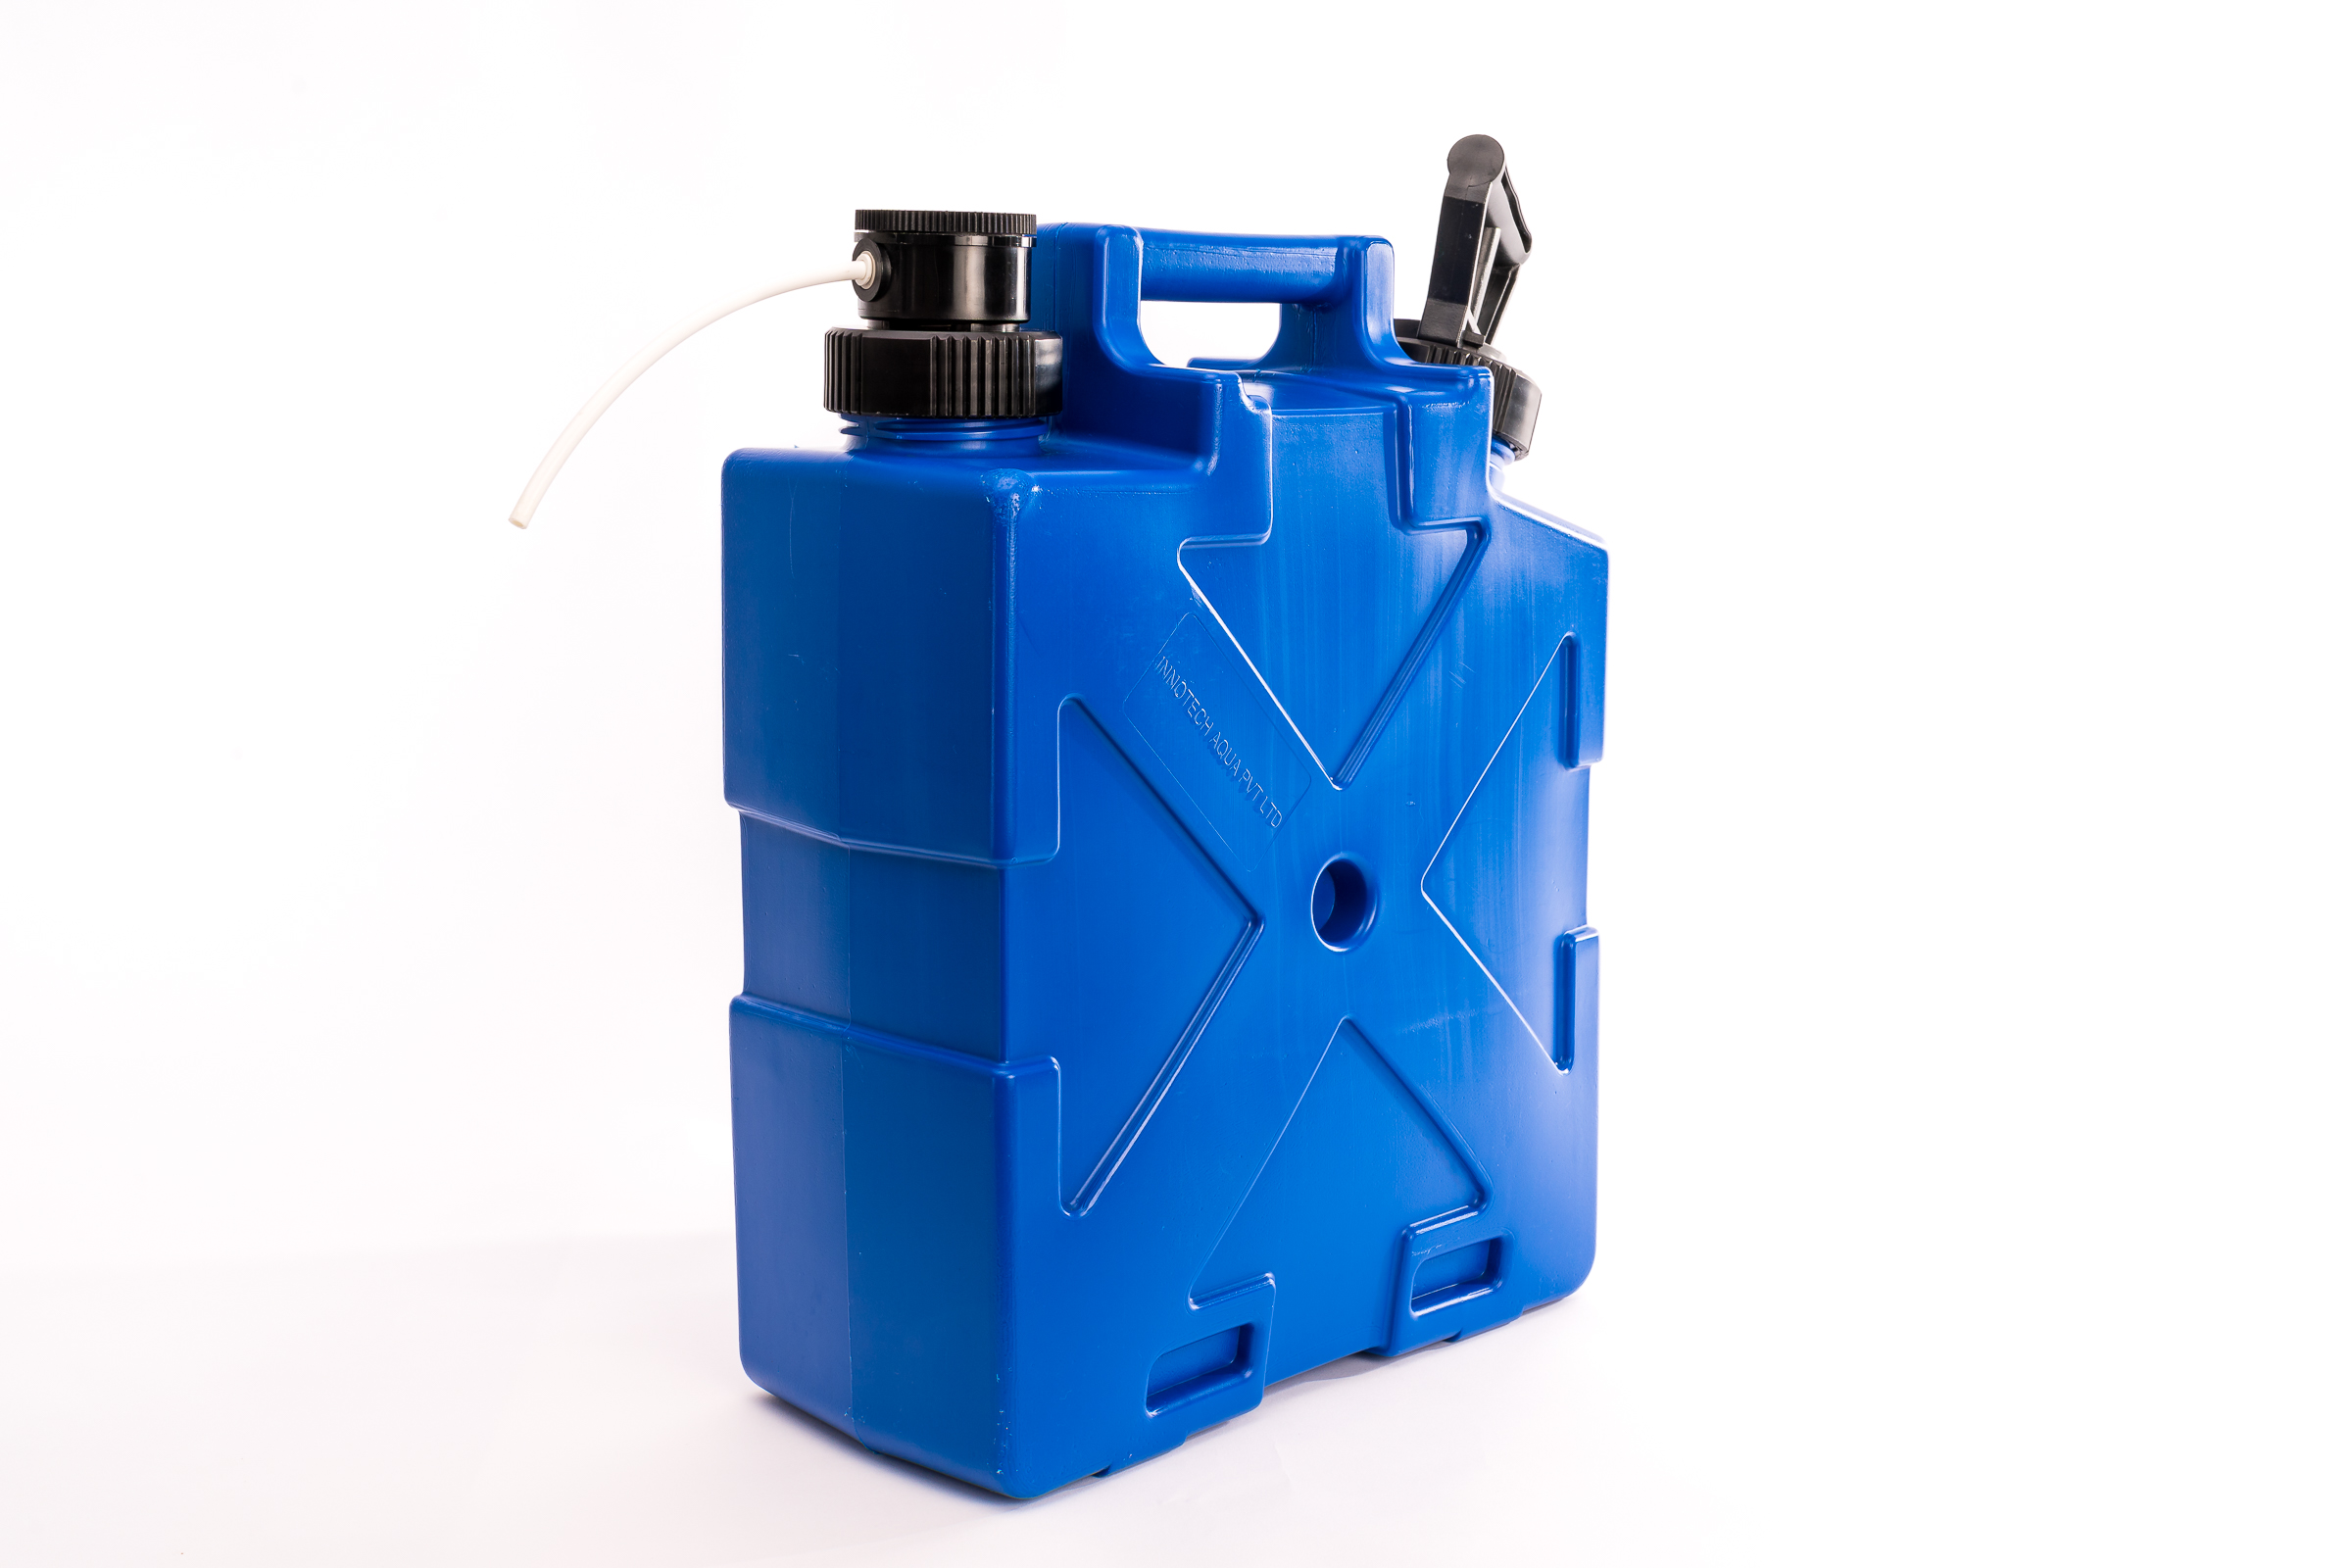
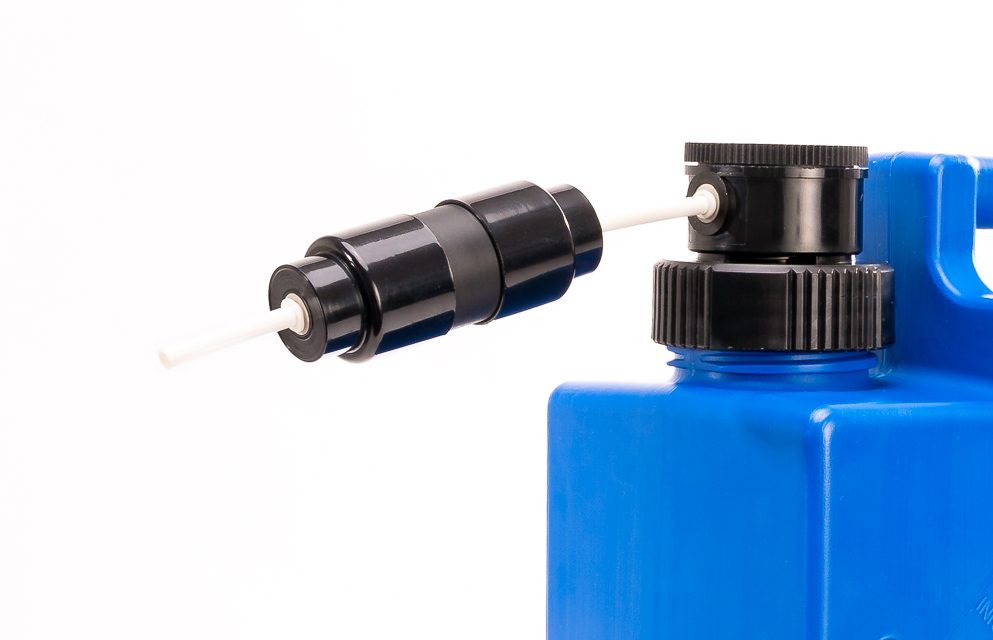
Before the use of sterilization, chemicals refer to the chemical manufacturer’s label and safety instructions for safe handling procedures and the recommended personal protective clothing and safety equipment.Even though the product is simple to use, it is important to become familiar with the product before the first use in any environment. The diagram below shows the main elements.

STEP BY STEP INSTRUCTIONS – SURVIVAL JERRYCAN

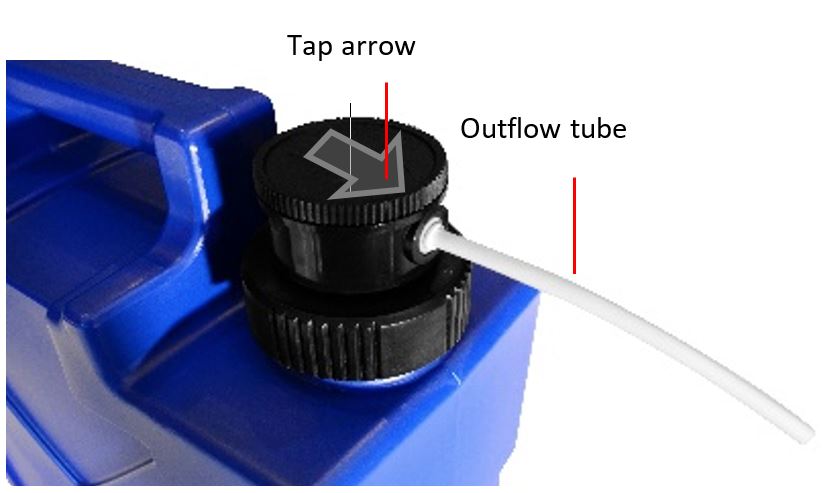
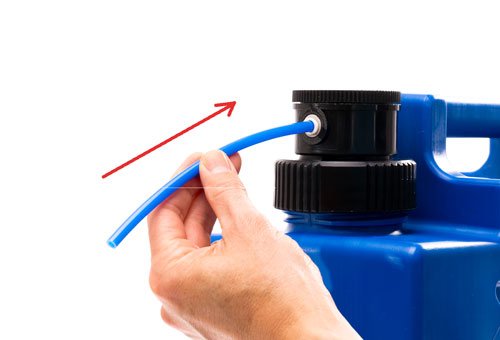
Step 1.   Insert the outflow tube firmly into the tap head.
For detailed instructions see “Connection of tube to the water filter outlet”.
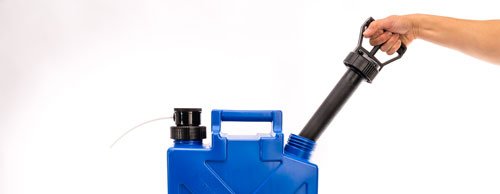
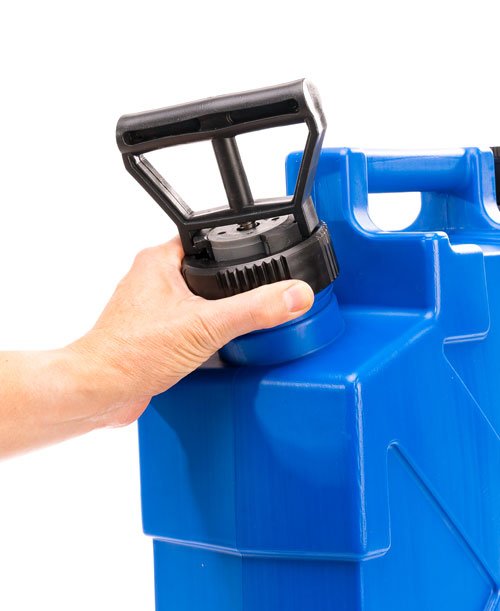
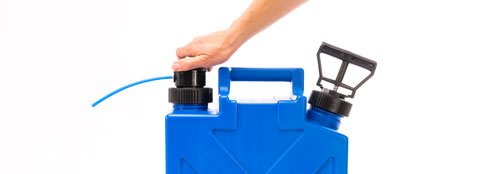
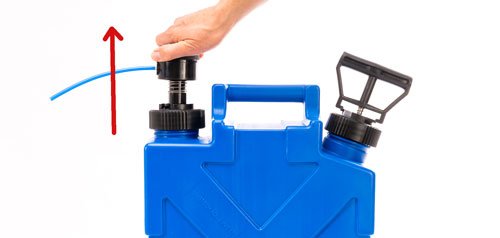
Step 2. Remove pump by unscrewing anti-clockwise using the grip, then lift.

Do not try to unscrew with the pump handle

Step 3.   Fill with water

Ensure untreated water does not contaminate the tap and the tube.


The Survival Jerrycan will become heavy, 21kg/46lbs, with a full tank of water.

Ensure that you lift with caution

If you have troubles, purchase a siphon pump .

Step 4.  Place the pump into the tank and screw firmly into position using the grip on the cap.


Do not use the pump handle to tighten.

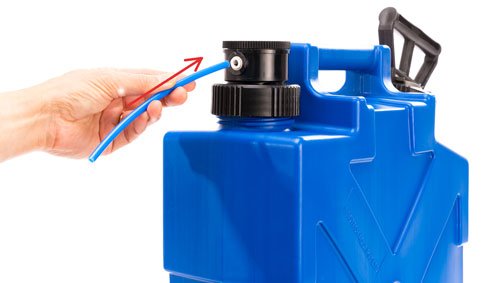
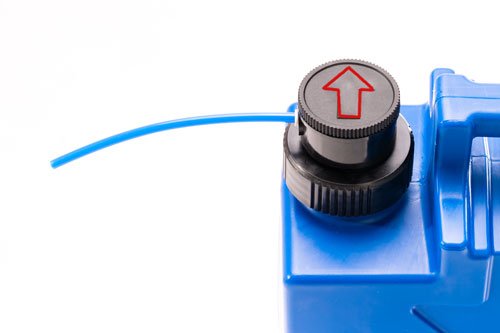
Step 5.  Make sure the tap arrow is in the direction of the outflow tube
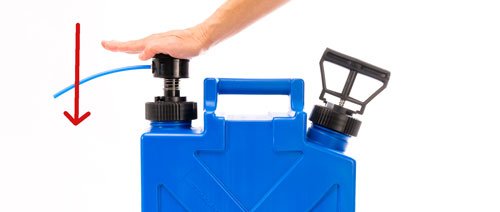
Step 6.  Start pumping at a steady pace and do not be overly exertive.
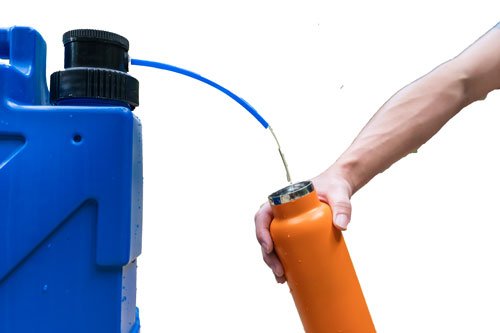
Step 7. After 10 to 15 pump strokes, filtered water will start to flow. It is not necessary to continue pumping until the water flows.

It will take 10-15 seconds for the water to start flowing.

Once the water is flowing, it will be necessary to pump occasionally to keep the pressure up

Notes

1.    The time for water to flow will depend on the volume of water in the tank.

2.   If filtered water flow is slow, the pump or the filter unit may need tightening, or the filter may need to be backwashed or replaced.

HOW TO ADD AND REMOVE TUBING FROM TAP

A spare plastic tube is provided for use with the Survival Jerrycan. Should you lose the tubes, it is freely available at most hardware stores (outer diameter of the tube is ¼” or 6.35 mm.


Connection of tube to the  outflow  unit

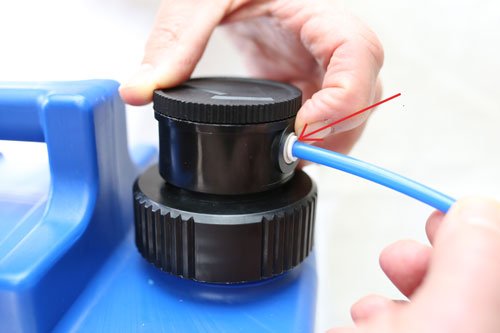
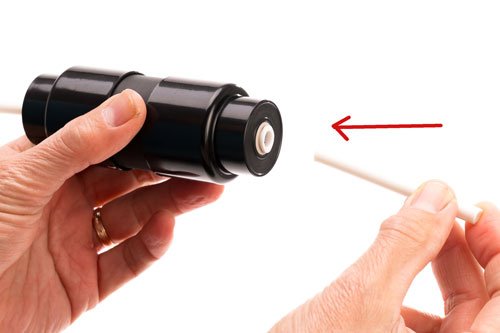
Step 1.  To Insert tube, just push the tube into the “John Guest” fitting on the outflow unit.

You will need to push firmly. You will feel a “click” when it is locked in position.

Step 2.  Pull gently to ensure the tube is locked into position.

Removing of tube to the outflow unit

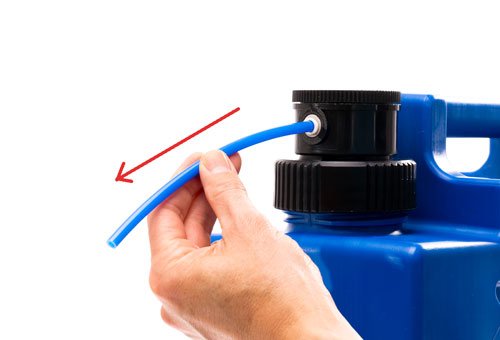
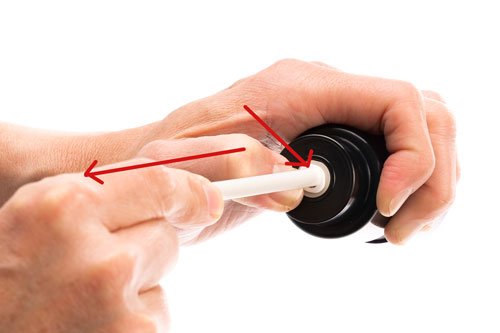
Warning: To remove the tube, do not just pull the tube. This will damage the unit. Follow the instructions below.

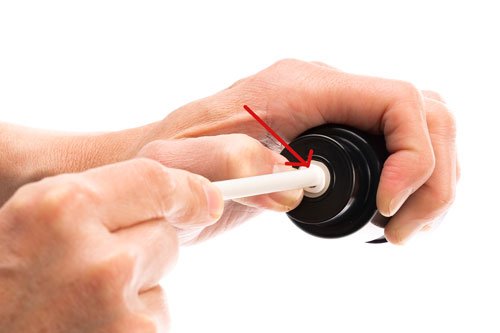
Step 1.  Hold the pipe and push toward the outflow unit.
Step 2.  Push the collet toward the outflow unit.
Step 3.  Pull the tube out while the collet is pushed in.

Do not attempt to pull out the tube without following steps 2 and 3.

RE-ASSEMBELY OF FILTER & TAP COMPONENTS

Assembling the tap and water filter

In the unlikely event, below are the instructions for re-assembly of the filter module and the outflow unit. Although it is not expected that this will ever eventuate, for completeness, we have included this in the User Manual.

You are able to purchase a replacement filter unit BUY NOW.

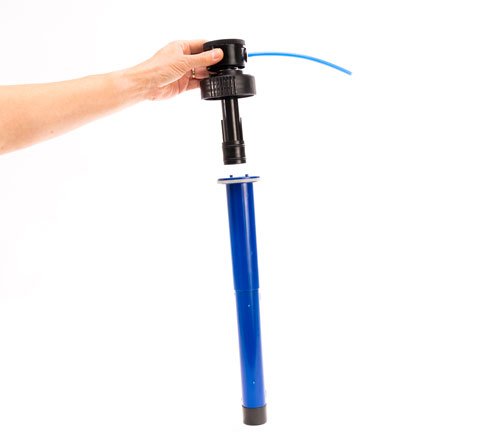
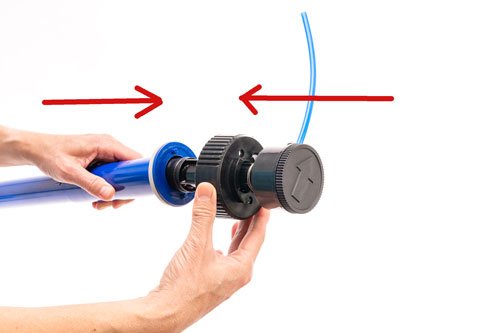
Step 1.  This is what it looks like when the outflow unit and filter are separated
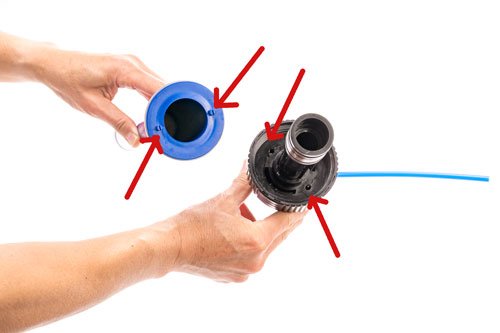
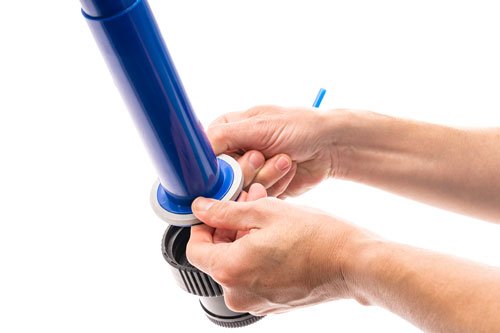
Step 2.  The filter will look like this picture. There are two plastic nipples on the top of the filter housing.
Step 3.  To reattach the filter unit and outflow unit, hold each unit with each hand and slide the outflow unit in the filter housing.
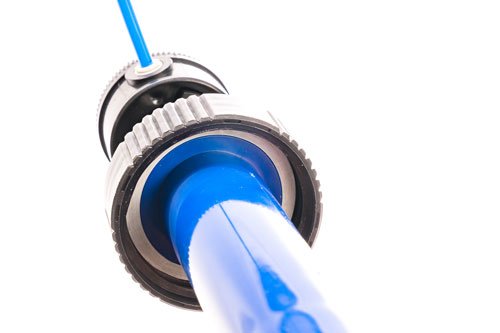
Step 5.  Align the cap hole with the filter nipples.
Step 7.  You should be able to see the nipples through the cap of the outflow unit
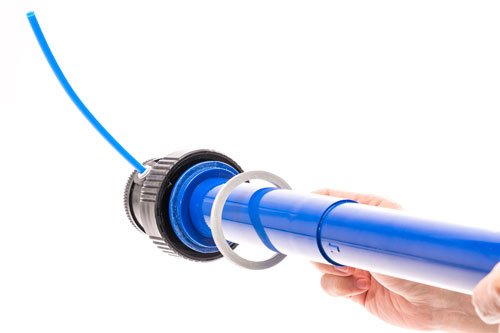
Step 8.  With the rubber washer pushed into the grooved section under the cap.
Step 9.  Run your finger around the ring to ensure that the rubber washer is in place
Step 10.  The rubber washer shall not be able to fall out when correctly in position.
Step 11.  Place the filter back into the tank and tighten. Replace the ¼” tube in position as described above.

INSTRUCTIONS FOR BACKWASHING

Instructions for Backwashing the Survival Jerrycan

The filter membrane in the Survival Jerrycan acts like a micro-porous sieve that filters out particles in the water. To extend the service life of the filter and to dislodge these particles captured during the filtering process, backwashing of the filter is necessary.

The filter should be backwashed regularly. Frequent backwashing will preserve the life of the filter. Frequency of backwashing depends on the quality of the water being filtered.

At a minimum backwashing should be performed:

  • Pump 2-3 liters of sterlizing solution through the filter.
  • If the flow of water slows down
  • At the end of the day
Step 1.  Remove the pump from the tank
Step 2.  Fill the container with clear water
The Survival Jerrycan will become heavy, 21kg/46lbs, with a full tank of water.

Ensure that you lift with caution

Step 3.  Place the pump back into tank and tighten
Step 4.  Press, tap down, and twist in an anti-clockwise direction
Step 5.  Pull the outflow unit in the upward direction.
Step 6.  Ensure the tap arrow direction is parallel to the outflow unit tube
Step 7.  Start pumping until water is flowing out of the tube
Step 8.  While water is flowing, twist only the top section of the tap (with grip), so the arrow is 90˚ degrees to the tube.
Step 9.  Release the pressure in the tank by opening the pump.
Step 10.  Push outflow unit firmly down.

Repeat steps 5 – 10 three to four times or until the water flow returns to normal.

This backwashing process will unblock filter pores
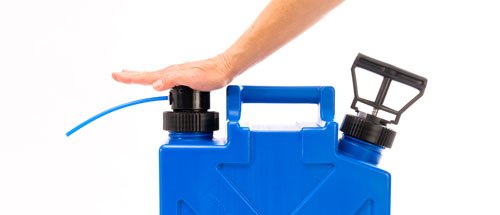
Step 10.  Once completed, push tap down and twist to lock into position and ensure the arrow is parallel to tap.

MAINTENANCE AND STORAGE

Survival Jerrycan Hygiene

The Survival Jerrycan must be kept clean and disinfected. We recommend the disinfection before and after storage. Please follow the Maintenance & Storage procedure to clean and disinfect the Survival Jerrycan,

Third party sterilization products

When using any sterilization, chemicals refer to the chemical manufacturer’s label and safety instructions for safe handling procedures and the recommended personal protective clothing and safety equipment.

Survival Jerrycan Maintenance & Storage Instructions

When storing the Survival Jerrycan after use, the undertake the following Maintenance Steps as it will prolong the life of the Survival Jerrycan filters. Make sure you store it in a dry, well air-ventilated, temperatures above 0°C /32°F and lower than 55° C/130°F.

Step 1.  Open the tank and remove the pump and filter unit.
Step 2.  Empty the tank and rinse out any debris with sediment free, clear water.
Step 3.  Fill half of the Jerrycan/tank with approximately 10 liters of clean water and add 50 ml of Milton Fluid (or compatible sterilizing fluid or tablet) to make a disinfecting solution in the Jerrycan/tank containing the clean water.

Refer to Chemical manufacturers’ safety instructions for safe handling of chemicals.
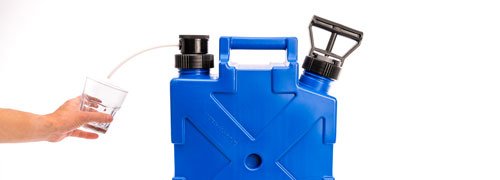
Step 4.  Place the pump and filter units into tank and tighten
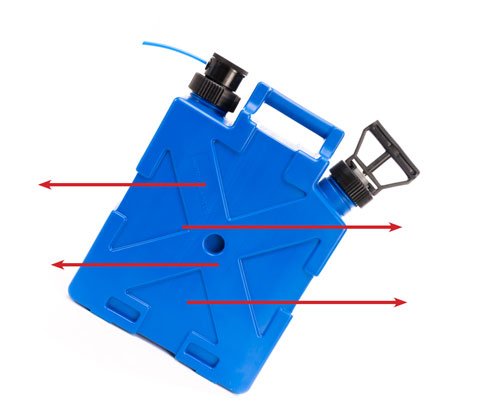
Step 5.  Agitate the sterilizing solution in the Jerrycan by turning the Jerrycan side to side several times over a 20 minute period.
Step 6.  Pump 2-3 liters of sterlizing solution through the filter.
Step 7.  Backwash the unit – 3-4 times – as per the backwash process
Step 8.  Remove the filter and pump – gentle shake- do not hit the filter
Step 9.  Empty the balance of the disinfected water and refill with 4-6 litres of clean tap water.
Step 10.  Place and tighten filter and pump back into tank and pump 2-3 litres of water through the Survival Jerrycan
Step 11.  Backwash the unit –as per the backwash process
Step 12.  Remove pump and filter assebly and gently shake the excess water off the filter- do not hit the filter.
Step 13. Empty the tank of the remaining water and place in upside down position for a few hours to dry.
Step 14.  Place pump and filter into tank and tighten. Pump 25-30 strokes three times at 5 minute intervals get air through filter.
Step 15.  Store the Survival Jerrycan away from direct sunlight in dry well-ventilated space that does not go below 0°C or 32°F or above 55°C or 130°F.
Step 16.  When the Survival Jerrycan is to be used again, follow the disinfection process, then refill it with clean water and discard the first liter of filtered water.

The Survival Jerrycan is ready to use be used again.

INSTALLING CARBON FILTER

The Carbon Filter is not required to filter water. It is used to improve the taste of water, making it more palatable. The activated carbon used in the Carbon Filter reduces chlorine by-products, Volatile Organic Compounds (VOCs), and absorbs odors improving water palatability.

Note: On the first use of the Carbon Filter, there may be some minor carbon particles (dust) that come out of the unit. There is no danger in these particles. Just throw out the first one or two liters of filtered water.

Step 1.  Push the ¼” tubes supplied with the carbon filter into the two “John Guest” fittings located at each end of the carbon filter.
Step 2.  Push the 1/4” tube of either end of the carbon filter unit into the outflow unit of the Survival Jerrycan.

It does not matter which way the filter is attached. It is bidirectional.

REMOVING TUBE FROM CARBON FILTER

Step 1.  Use a finger to press down the collet (outer ring) of the John Guest fitting on the carbon filter.
Step 2.  While pressing down the collet, pull the tube out from the carbon filter.

STORING THE CARBON FILTER

Once it has been used, the Carbon Filter will last 3 months or 50-70 tanks fulls of filtered water.

Once removed the Carbon Filter from the Survival Jerrycan, shake gently to remove all the excess water and place in plastic bag as water will still drip out over time.

When transporting the unit its best to remove the Carbon Filter and store it in a plastic bag,
Pin It on Pinterest